Appearance
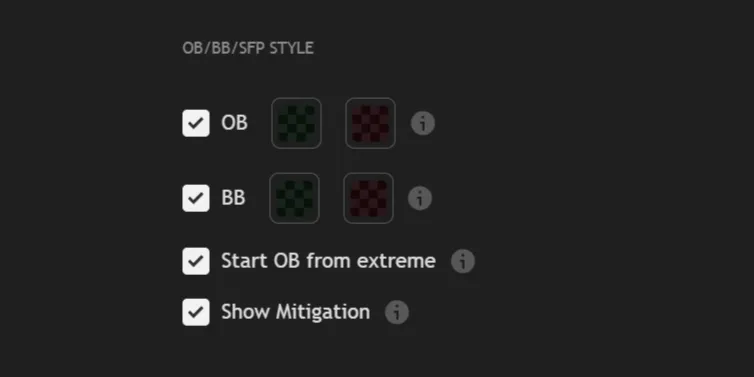
OB/BB Style
Order Blocks and Breaker Blocks are the core supply and demand zones REx places after every structural break. This section controls which zones are shown, how they look, and how their interaction with price is tracked.
Order Block
Order Block (OB) is the last opposite-colored candle before a structural break.
It marks where institutional orders were placed before the impulsive move — and where price is likely to react when it returns.
| 1. | OB enables the display of Order Blocks and allows you to customize their colors. An Order Block is placed after a break, on the last opposite candle before the structure high/low, depending on the direction. ⤵ |

INFO
OB position depends on your Mode setting. The Structure Mode (MSB or BOS) determines which counter point is used to define the range — this directly affects where each OB is placed and how wide the zone is.
→ MSB uses the most recent counter point — tighter zones, closer to the break.
→ BOS uses the most extreme counter point — wider zones, broader context.
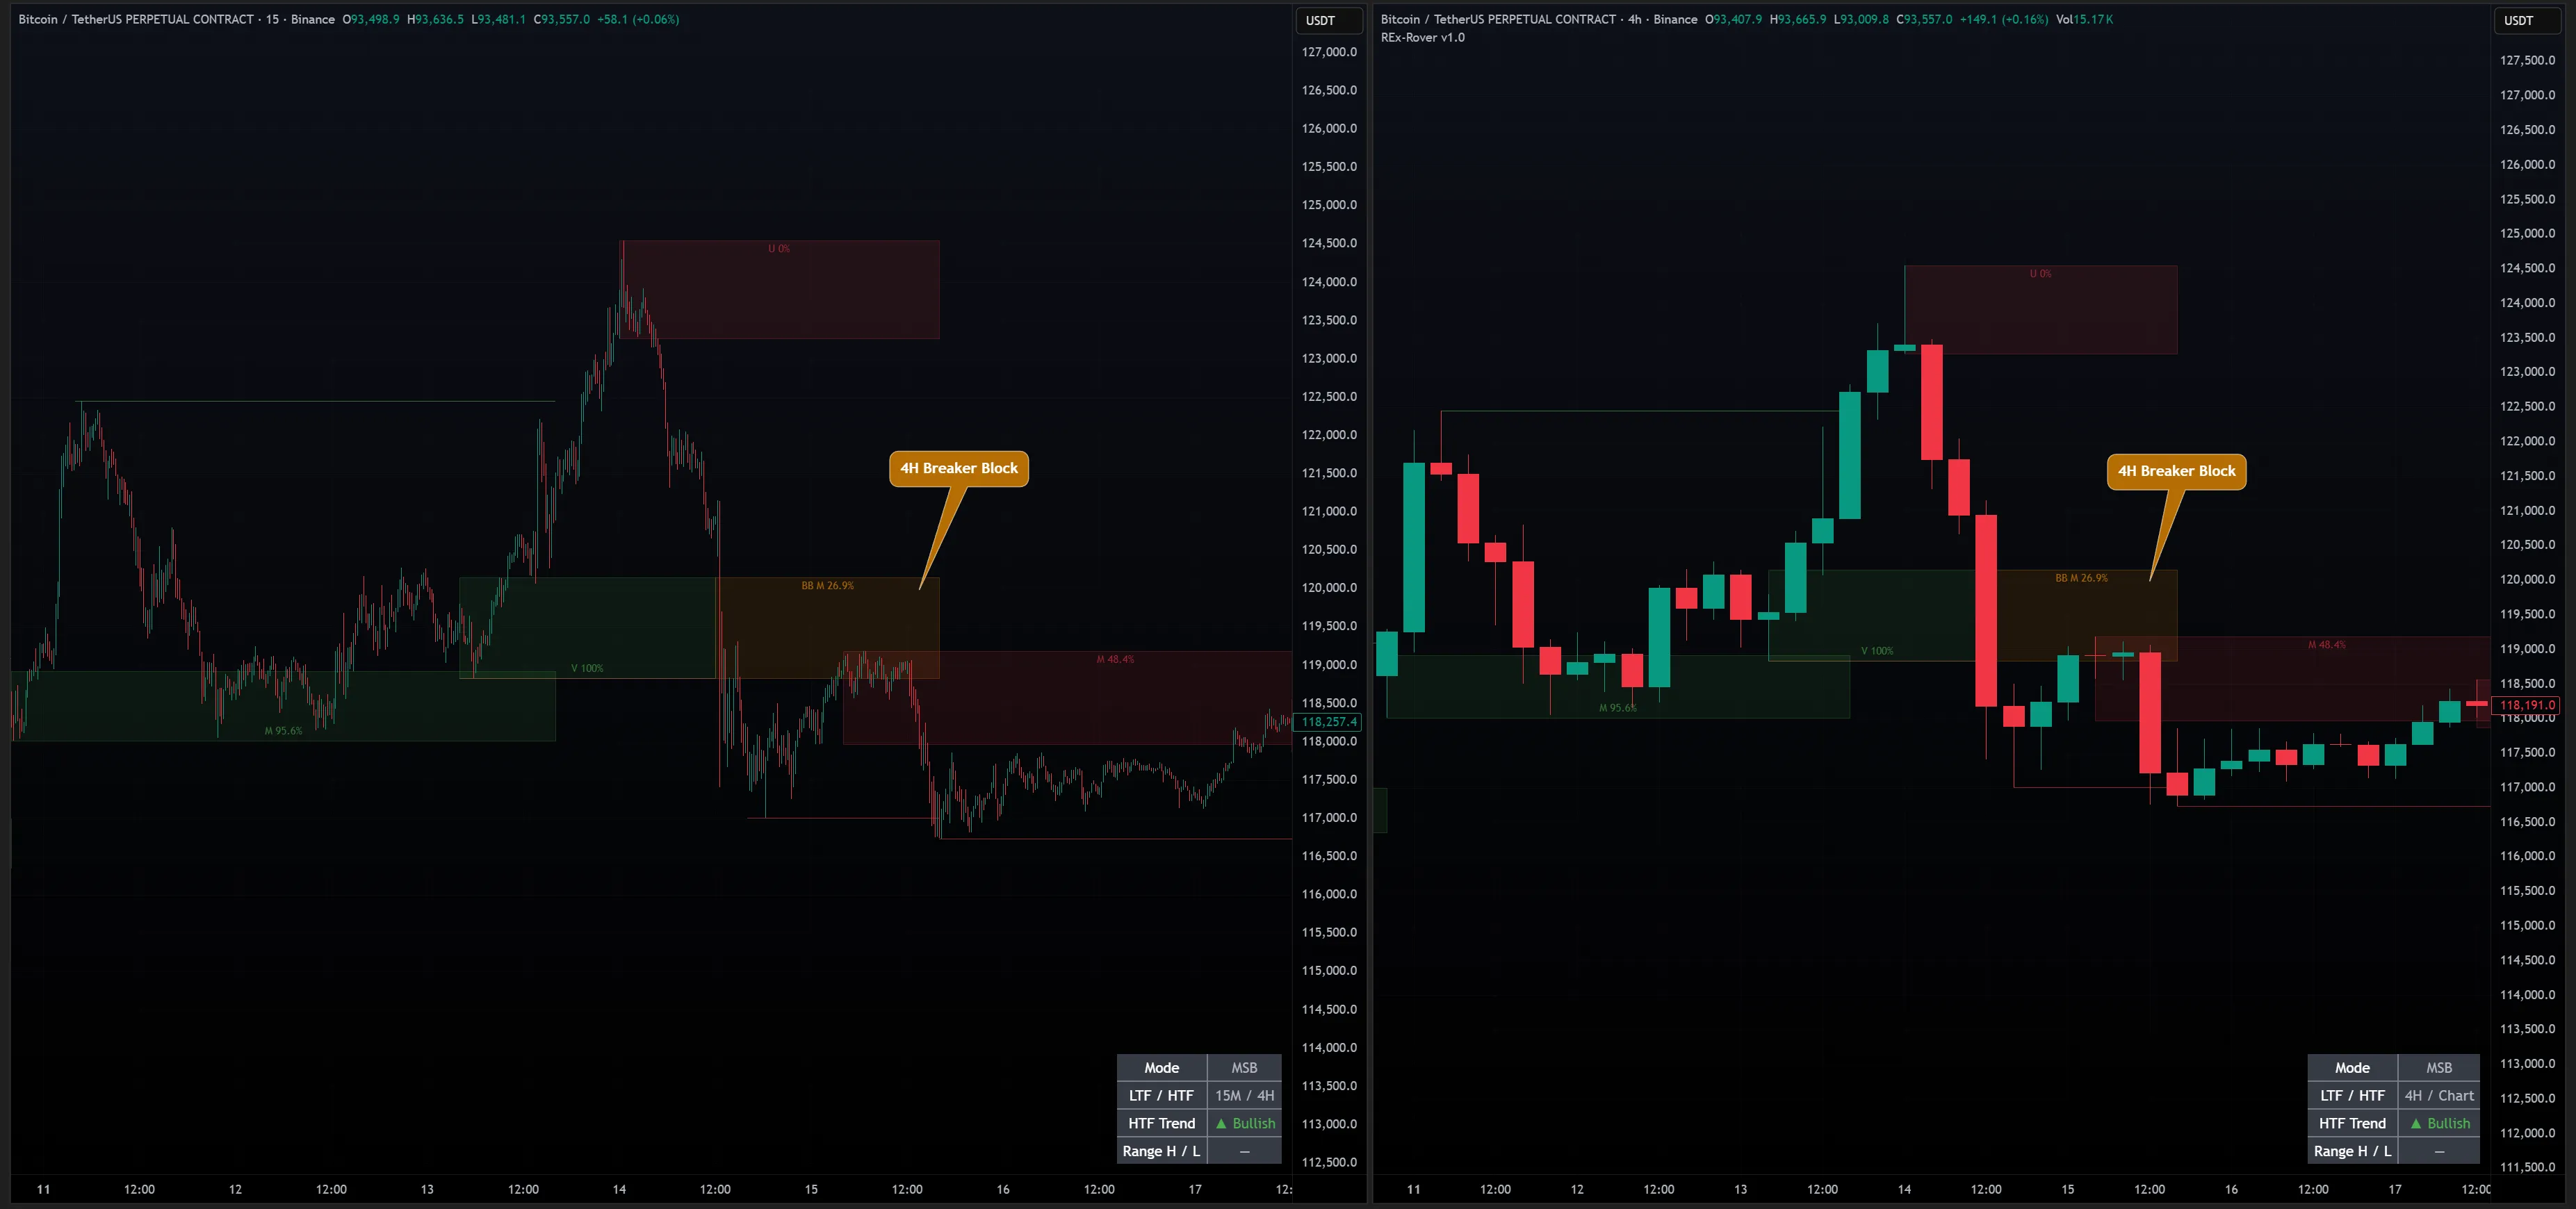
Breaker Block
Breaker Block (BB) forms when an Order Block is violated — price closes through it instead of reacting.
The zone flips polarity: a bullish OB becomes a bearish BB, and vice versa.
| 2. | BB enables the display of Breaker Blocks and allows you to customize their colors. A Breaker Block appears after an Order Block has been violated. ⤵ |
Zone Lifecycle
Every OB and BB follows a defined lifecycle from creation to expiry. REx tracks the state of every zone in real time.
OB: CREATED → UNTESTED → TESTED → MITIGATED
                                or
→ VIOLATED → becomes Breaker Block (BB)| State | Meaning |
|---|---|
| Untested | Zone hasn't been revisited |
| Tested | Price wicked into the zone — no candle close inside |
| Mitigated | A candle closed inside the zone |
| Violated | Price closed through — OB becomes BB |
When Show Mitigation is enabled, REx displays a live penetration percentage directly on each zone — how far price has entered it relative to the zone's full height. 0% means untouched. As price wicks deeper, the number climbs. Once a candle closes inside, the zone is mitigated at 100%. This lets you assess zone strength at a glance without waiting for the state label to change.
Display Options
| 3. | Start OB from Extreme is a purely visual setting that moves the Order Block to the structure high or low instead of the candle where it was formed, resulting in a cleaner and clearer chart. |
| 4. | Show Mitigation displays the current lifecycle state and penetration percentage on each OB and BB zone in real time. States are defined in Zone Lifecycle above. |